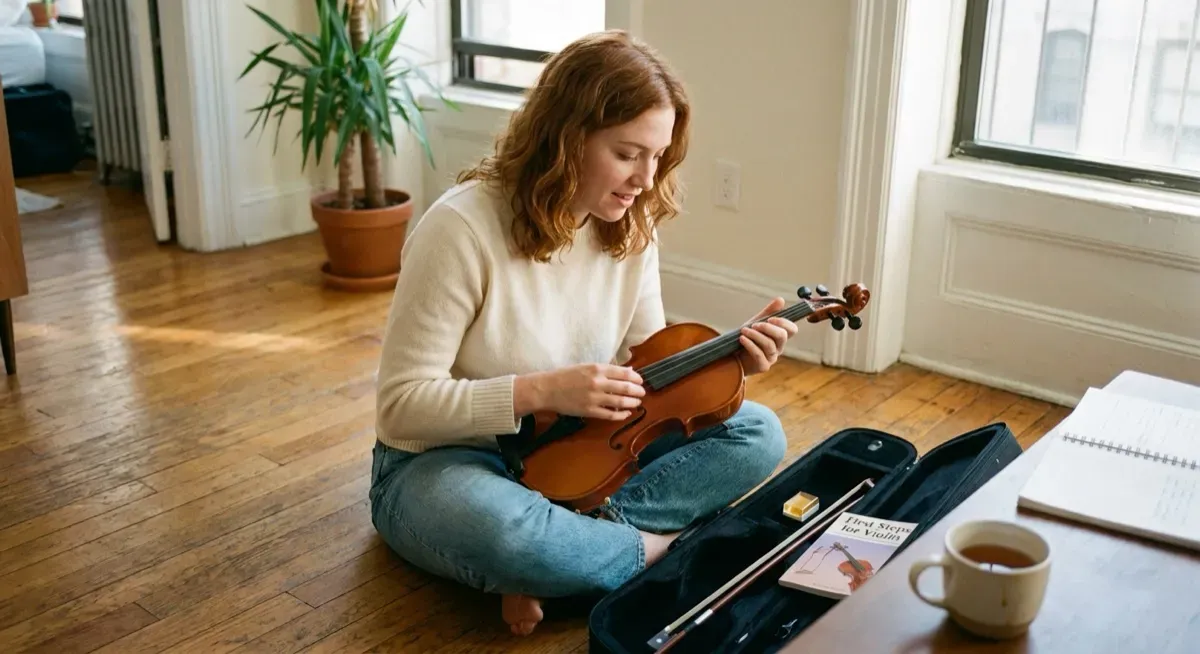
You’ve got a violin in front of you, or maybe you’re thinking about getting one, and you have absolutely no idea what to do with it. I remember that feeling. I was five when my mom handed me a tiny violin and I held it upside down. Twenty-something years of teaching later, I still love watching that mix of excitement and “oh no, what did I get myself into” on a new student’s face.
Here’s what I wish someone had told me on day one.
Step 1. Get a Violin That Actually Works
Please, please don’t order a $50 violin off Amazon. I know it’s tempting. I’ve had students show up with these and my heart sinks a little every time. Not because of the student, but because that instrument is going to make them feel like they’re terrible when they’re not. Pegs that slip every 30 seconds, a bridge that’s crooked, strings that feel like cheese wire. You deserve better than that.
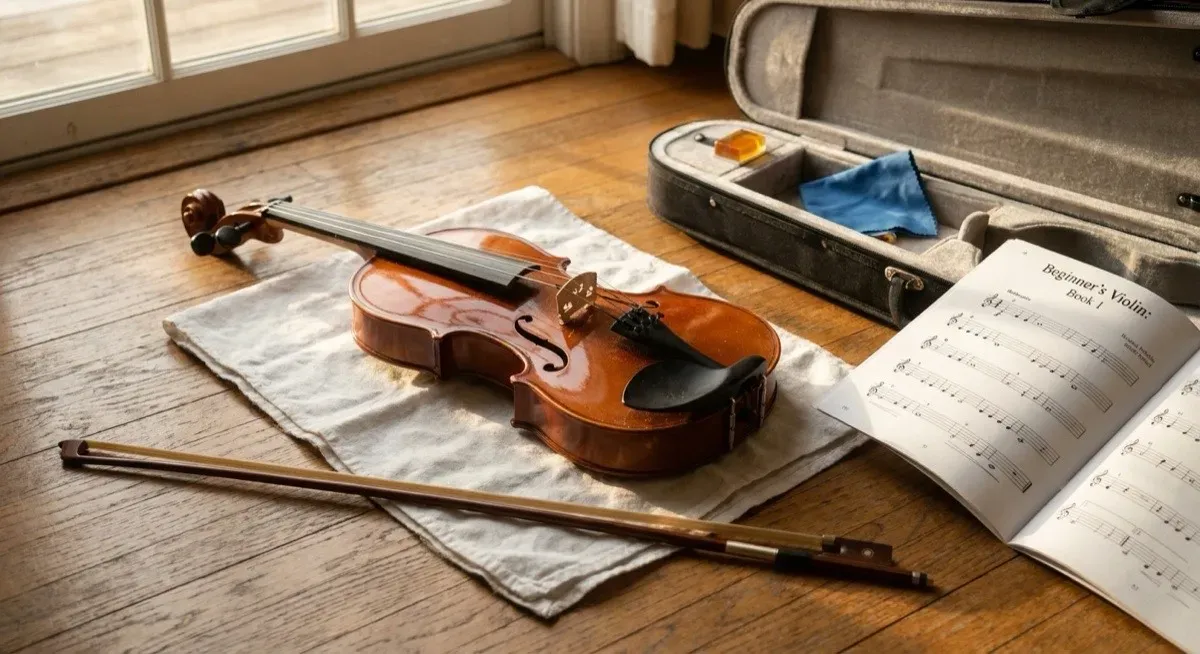
Rent from a local music shop for $25-50 per month. Most shops put that money toward a future purchase. Or buy a decent student outfit for $150-300. Either way, you need a properly sized violin, a bow, rosin, and a shoulder rest.
Not sure what size or whether to rent or buy? I wrote a whole post on choosing the right violin. It’ll save you a headache.
Step 2. Learn How to Hold Everything
I know, I know, you want to play music. But this is where I spend the first 2-3 lessons with every student, and honestly it’s my favorite part. Because when we get this right, everything that comes after is so much easier. When we skip it, well, I end up fixing bad habits for months.
The violin sits on your left collarbone, supported by your chin and shoulder rest. Here’s the thing most people get wrong. Your left hand is NOT holding the violin up. I see students gripping the neck like they’re hanging off a cliff. Your hand needs to be free to move. Let the chin and shoulder do the work. It feels strange at first, like the violin might fall. It won’t. Trust me.
The bow is the tricky one, and honestly, it’s where most of the magic happens. Your right hand controls everything the audience hears. Tone, volume, feeling. Curved fingers, bent thumb, pinky resting gently on top. I wrote a whole post about bow hold because getting it right changes everything.
Step 3. Play Open Strings
Before any fingers touch the fingerboard, we learn to move the bow. Just the bow. The four open strings from lowest to highest are G, D, A, E.
Try this.
- Place the bow on the A string, halfway between the bridge and fingerboard
- Draw it slowly from frog to tip. That’s a down bow
- Draw it back. That’s an up bow
- Focus on keeping the bow straight and the sound even
Do this on each string. Five minutes a day. It will sound not great. That’s fine. When my students first do this, half of them laugh at the sound. I always tell them that scratchy noise means you’re doing it right. You’re learning. When you can bow each string without the sound cracking, you’re ready for what’s next.
Step 4. Add Your First Fingers
Now the left hand gets to join the party. I start every student with just the first finger, the index finger, on the A string. Press down firmly enough for a clear note, but don’t squeeze. Your finger isn’t trying to go through the fingerboard.
Once that feels comfortable, add the second finger. Then the third. Each one is a new note. And here’s what I love about this moment. With just three fingers on two strings, you can already play real melodies. That look on a student’s face when they realize they’re making actual music is the best part of my job.
Step 5. Play Your First Song
With open strings and three fingers, you have enough notes for Twinkle Twinkle Little Star. Yes, that Twinkle Twinkle. It’s the classic first piece for a reason. Simple rhythms, small range, and everyone knows how it should sound.
Will it be perfect? Definitely not. My students usually need 2-3 weeks of daily practice to play it smoothly. But that moment when the melody comes together and you recognize what you’re playing, I still get goosebumps watching it happen. It’s the moment where “I’m trying to learn violin” becomes “I play violin.”
How Long Until You Sound Good?
I’ll be honest with you. The first 2 weeks sound rough. There’s no way around it. Everyone, including me and every professional you admire, went through this. By month one, you’re playing simple tunes. By month three, your family stops putting in earplugs, mostly. By six months, you actually sound musical.
The secret is 15-20 minutes of focused practice every day. Not an hour on Saturday while half-watching Netflix. Your muscles need daily repetition. I know life is busy, but 15 minutes is less than one episode of anything. You can find it.
Curious about what to expect month by month? I wrote about realistic timelines so you know exactly where you’re headed.
What to Remember
- Get a real instrument. A $150-300 student outfit or rent from a music shop, never a cheap online violin
- Spend time on your holds before jumping to songs. Your future self will thank you
- Start with open strings, add fingers one at a time
- 15-20 minutes daily beats an hour on weekends
- The first 2 weeks are the hardest. It gets so much better after that
Want to see all of this in action? My free 4-video beginner series walks you through bow hold, violin hold, and your first notes. No account needed, just press play.