Violin With Marta Calgary & Online

Free for everyone

Your first four violin lessons, on me

Never held a violin before? Start right here. These four short videos take you from holding the bow to playing your first whole song, at your own pace, completely free. No account needed.

Lesson 1

Bow Hold

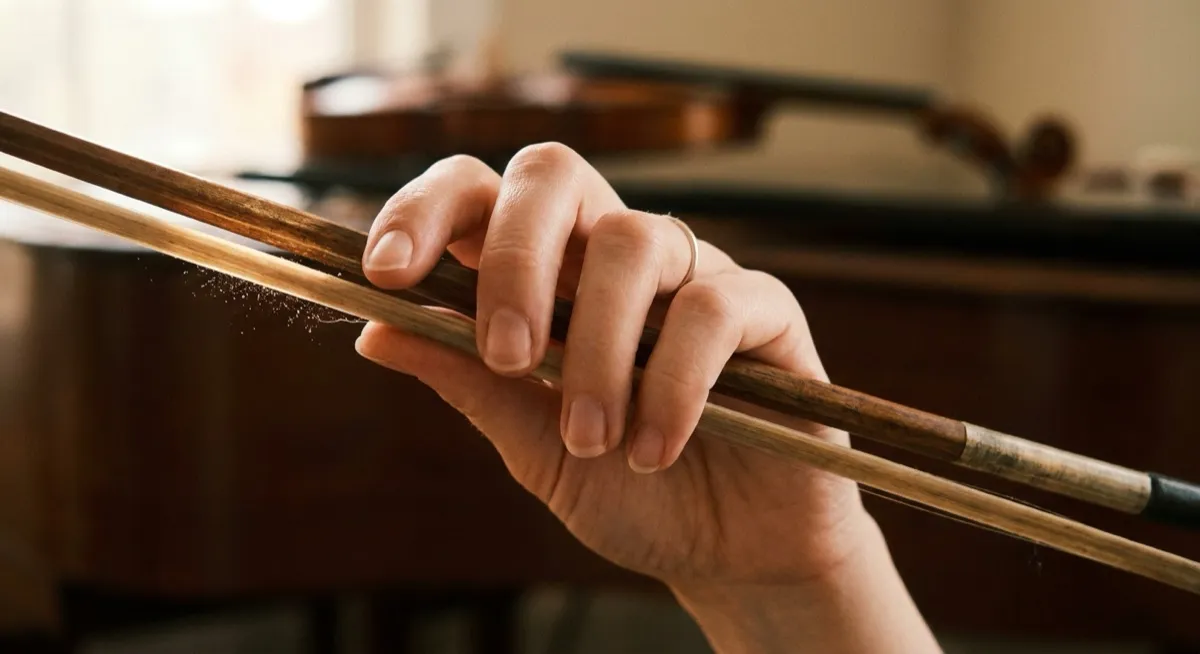
Learn how to hold the bow correctly, the foundation of every good sound you will make on the violin.

That bow is half of your sound, and sometimes not only the beginners, but also advanced players forget about that. Today we are fixing that starting from day one. Did you notice the difference? It was the same bow, the same violin, the same strings. The only thing that changed was the bow grip. Today I will show you how to hold bow correctly starting from day one, so you don't need to unlearn bad habits. I'm Marta, a professional violinist and a violin teacher. I started to play when I was four, and been teaching for over ten years now. First, let's talk about bow anatomy. We have the bow tip, and we have the frog. We have the bow hair, made from horse hair, and our bow stick. For the first step, we will use only our arm. We take the side of the thumb, and the middle and fourth finger. Keep your elbow looking down, shoulders down. For step three, we are finally using the bow, starting with the beginner's bow hold. We put the thumb here, wrap over those two fingers, then place the index finger and pinky around, keeping nice grip. Don't let your wrist drop. There are three things to remember: curved thumb, curved pinky and good bow grip. If you want to try a lesson together, there is always an option for a free trial.
Lesson 2

Violin Hold + First Rhythms

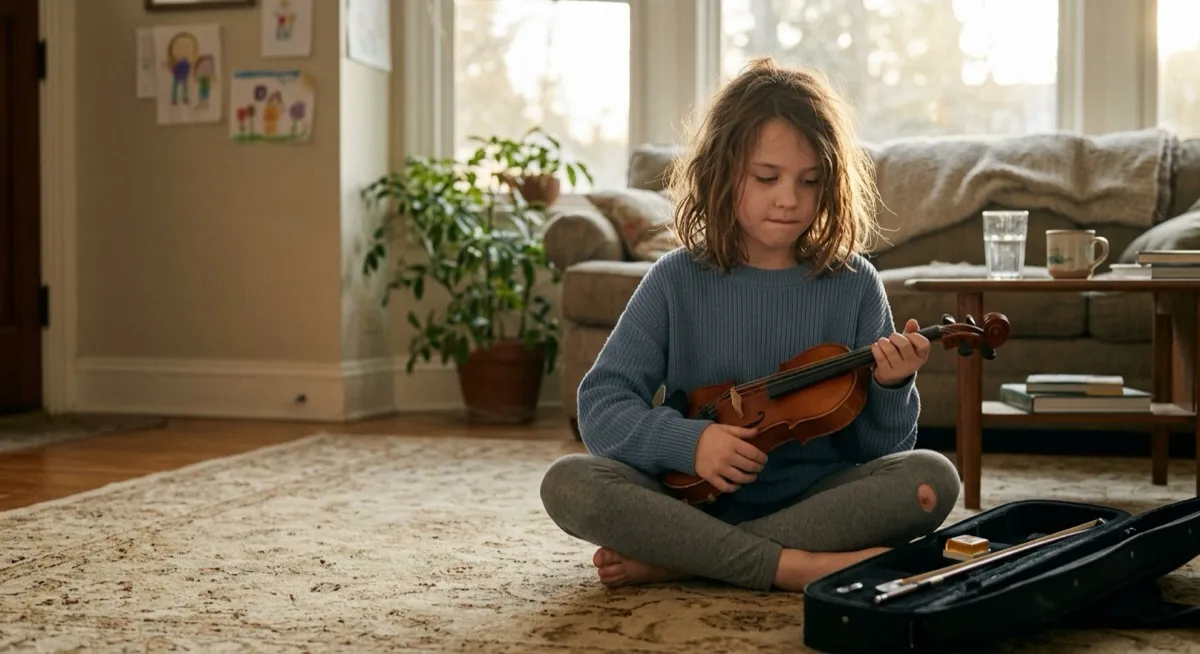
Get comfortable holding the violin and play your first rhythms on the E string, straight from the Twinkle variations.

Your violin hold is the foundation of everything. Sometimes, beginners and also advanced players forget about that, and that's the reason why we develop tension, pain and bad habits that take years to fix. So today we are starting the right way since day one. Before any sound, the setup is the most important thing. We start with the rest position and your feet. Then we turn our left foot looking left, and slightly move it forward. For the violin we have the shoulder rest and the chin rest. We lift up the violin, come to the head, come to the ear and land it on the shoulder, then place the chin in the chin rest. We don't want any tension. Now we learn all the Twinkle Twinkle variation rhythms. Variation A, then variation B (ice cream cone), variation C (down pony, up pony), and the rest. Remember to start every time with the rest position, then play on the E string. If you want to do a lesson together, the first trial is for free.

Lesson 3

Tapes + Tuning

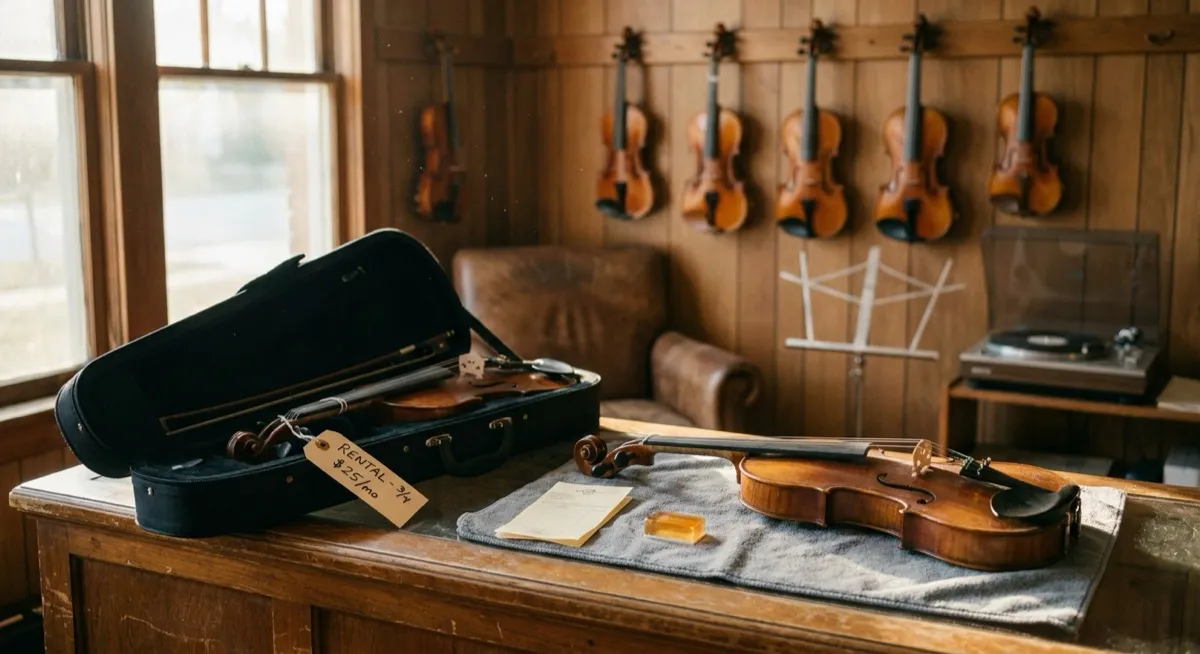
Learn how to place finger tapes on your violin and how to tune it, so you always sound your best.

Tuning is the first thing we need to do before we start to practice. It can change because of many reasons: the weather, your room temperature, and just from laying down on the table. Even if the fingers go into exactly the same spots, if the strings are out of tune, it's not going to work. We start tuning from the A string, the second string from your right side. For tuning I use the app Soundcorset, which has a tuner and a metronome. Pluck the A string, then use the big peg or the small fine tuner to bring it to the middle of the A. Then the D string, then the G string, then the E string. Always be extra careful with the E string because it is the tiniest and can break. Keep the distance and turn with very small moves. Next we put the tapes on the violin. We need tape, scissors, tuner and violin. Put the tape under the strings and slide it until the first finger gives the note B on the A string. Then C sharp for the second finger, and D for the third finger. I strongly advise using only three tapes, for fingers one, two and three. If you want to try a free lesson together, there is always an option for a free trial.
Lesson 4

Your First Song

Put it all together with ear-training exercises and play Twinkle Twinkle Little Star from start to finish.

Everything that we have done so far, your bow hold, posture, violin hold, tuning, tapes, it all comes down to this, the first song. Our first song will be Twinkle Twinkle. First we check our violin arm frame: the magic X point goes at the beginning of the neck, and the dot with the thumb on the opposite side. Keep your fingers curved over the strings. We use only the open strings to start, then the first finger on the E string (F sharp), then the A string (B), then the second and third fingers. As we move higher, leave the finger that we played before. Remember the three steps: stop the bow, prepare, and play. We always start at our balance point and use short bows, because that is how we learn to control the bow arm. Let me know how your first song is going and keep practicing. If you want to do the lessons together, to keep growing together, you know where to find me.

The free starter kit

Learn where every note lives

Leave your email and I will send everything straight to your inbox, ready to practise right away.

  • An interactive fingerboard trainer with real violin sound and a quiz mode
  • A printable handbook: posture, the violin hold, and the bow hold
  • Rhythm and note values, plus the notes on each string
  • The notes for your first song
🎧

Get the starter kit

No spam, unsubscribe anytime.

Ready for more?

Keep going with real lessons

Start with a free intro lesson. Bring your violin if you have one and play a little so I can see where you are starting from. If you do not have one yet, that is fine. Then keep going in person in Calgary or online from anywhere.